Once you have an accessible document set up in Word, using the accessibility tips we’ve posted here and after passing Word’s accessibility checker review, it’s time to make the PDF! While this seems simple enough, it’s still important to do it the correct way, or the final PDF may lose all of that accessibility information.
The first thing to remember is do not use “print to PDF”! If Word thinks it’s printing, it will act like it’s sending pixels to a printer and discard everything else, including the accessibility information.
Instead, use one of the following options. The first should work for most people; the second is another way that’s only available if you have Acrobat installed on your computer.
Option 1: Save as…
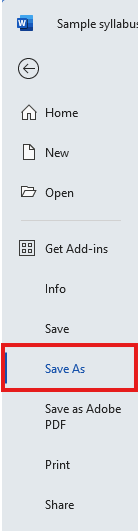
From Word’s File menu, choose the Save As command.
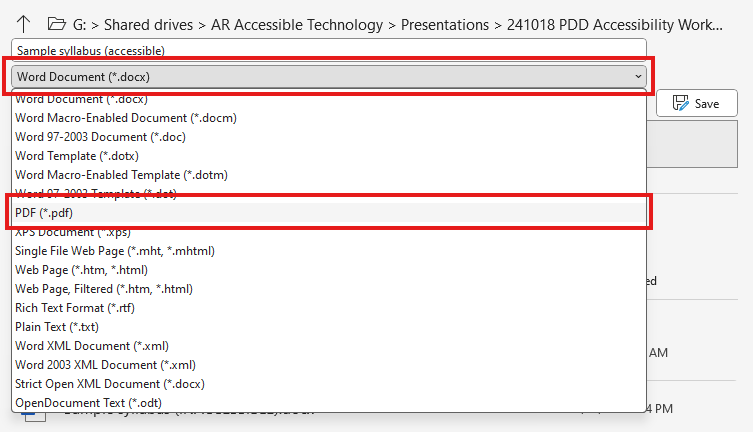
In the Save As screen, underneath the filename, change the file type drop-down menu to PDF (*.pdf).
The first time you do this, you’ll also want to make sure all of the PDF output options are set correctly. Once you’ve done the following steps once, the settings should stick (but it’s good to check every so often to be sure).
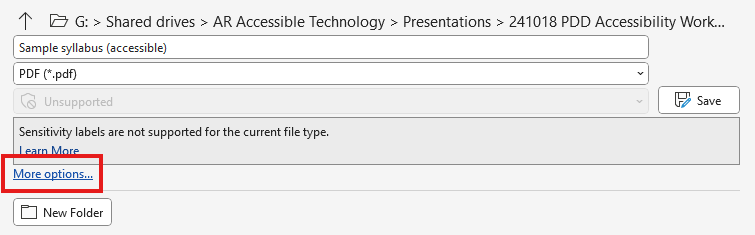
Click on the More options… link just above the New Folder button.
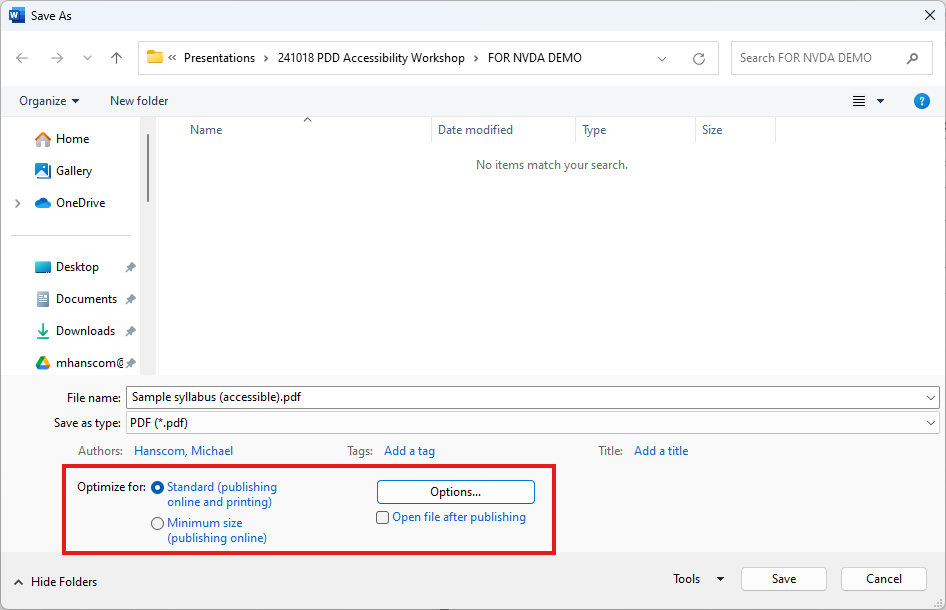
Word will open a second file save dialog box; here, you’ll want to make sure that the Optimize for: setting is set to Standard (publishing and printing), and then click on the Options… button.
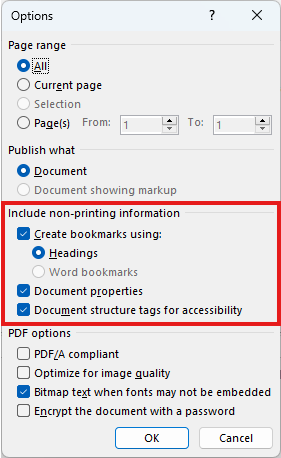
In this final set of options, you’ll want to make sure that all of the options in the Include non-printing information section are turned on (Create bookmarks using headings, Document properties, and Document structure tags for accessibility).
And that’s it! Now you can click OK in this dialog box and Save in the file save screen, and the PDF will include all of the accessibility information from the Word document.
Option 2: Save as Adobe PDF
This option is available if you have Adobe Acrobat installed on your computer. If you don’t see it, don’t worry! Just use option one above.
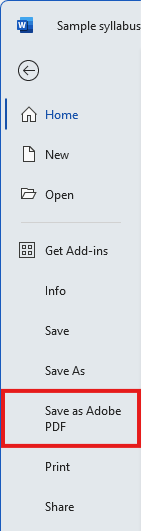
You’ll start in much the same way: From the File menu, choose Save as Adobe PDF.
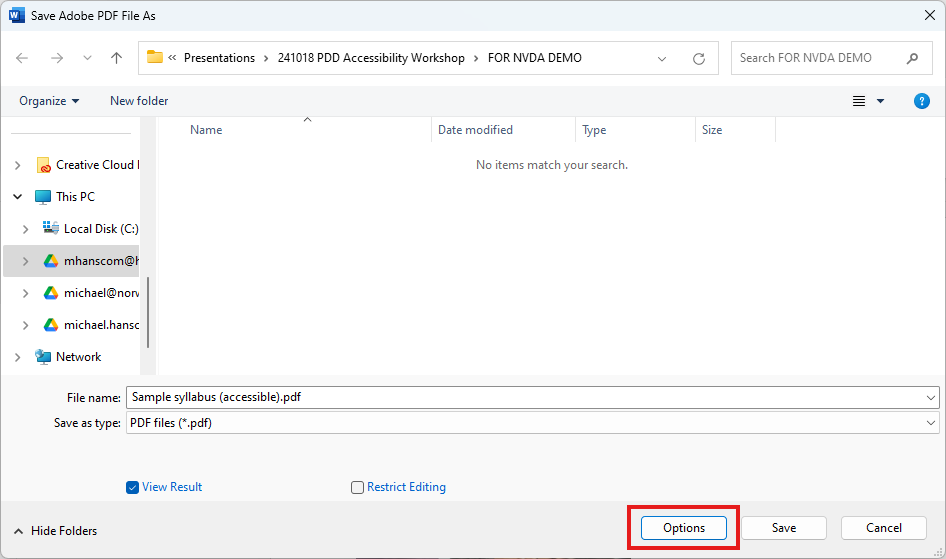
At the bottom of the Save As screen, click on the Options button next to the Save button.
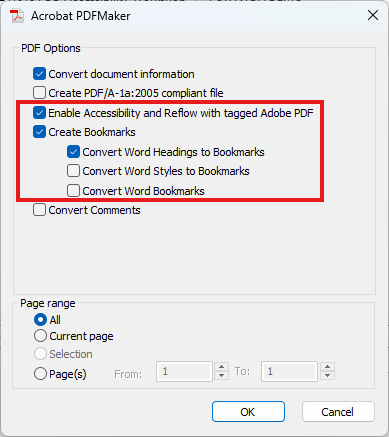
In the Acrobat PDFMaker options screen that appears, make sure that the Enable Accessibility and Reflow with tagged Adobe PDF and Create Bookmarks: Convert Word Headings to Bookmarks options are selected.
And that’s it! Click OK to close this screen and Save in the Save As screen, and the PDF will include all of the accessibility information from the Word document.
What’s the difference?
There is little to any functional difference between the two methods of creating the PDF. Behind the scenes, the two processes do things slightly differently, so the accessibility tags in the final PDF will look a little different to someone who is digging into the PDF to see how it’s structured. However, for our purposes, you can use whichever workflow you prefer.